MK802iv Ubuntu – Download And Instructions
MK802iv Ubuntu
Instructions
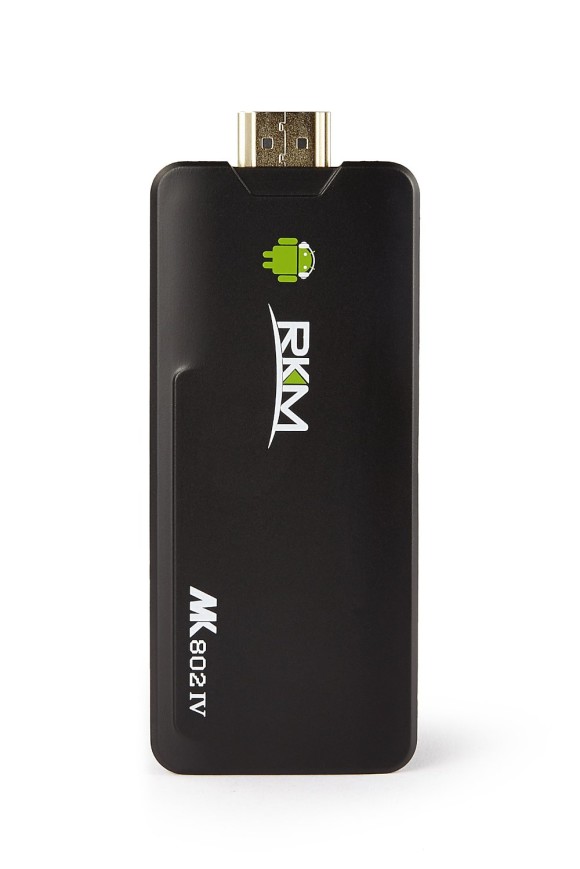
This article is about removing the existing Android OS from a Rikomagic MK802iv and installing a version of ubuntu, called lubuntu, on the device. There are a number of posts of various websites how to do this and it gets very confusing. After several tried and failed attempts to get a good working rom on my MK802iv, I finally got one that works very well. Although I can’t take credit for the work of the folks who made these ports available, I did package it in a way that worked for me. I am hoping this MK802iv Ubuntu post saves folks the trouble I went through.
If you want to purchase a Rikomagic MK802iv, you can get one here!
The files came from various forum posts on the Rikomagic UK website. I love those guys and have gained a lot reading their posts. Still, it seems that Linux guys like to torture people by forcing them to fish for answers by spending whatever free time they have on Google, trying to find answers. I come from a Windows background and thought this would be an excellent way to explore MK802iv ubuntu options and learn something new.
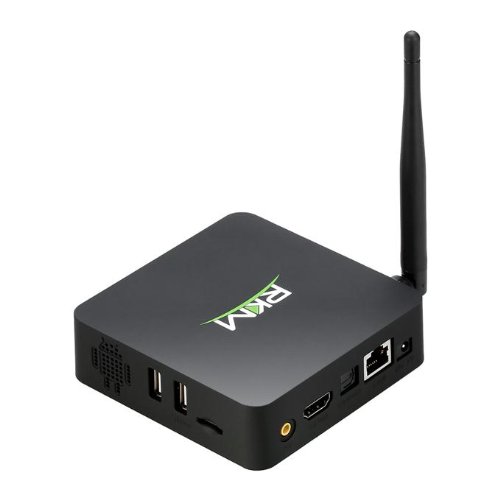
Want A Rikomagic Mini PC? |
|
|
|
|
Note: This article applies to the Rikomagic MK802iv with the newer WiFi chipset, S/N from 201307**** till the current date. The older revision had a different WIFI chipset. Following these instructions may void your warranty.
The process of installing lubuntu on your Rikomagic MK802iv is very similar to the ROM Flashing process I wrote about before. Again, I can’t take credit for these files. All I did was find them and compile them in a easy and useable format. You can download the package here. It is a Windows self extracting compressed file that is about 500 MB in size. When you run the executable, it will expand to over 2 GB, so make sure you have enough room for your MK802iv Ubuntu files.
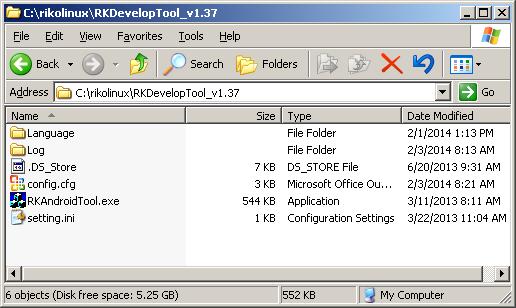
After you download and uncompress the files, you will have everything you need to install lubuntu on your Rikomagic MK802iv with the new WIFI chipset. If you look in the Rikolinux folder, you will find the RKDevelopTool folder. Go in there and run the RKAndroidTool.exe
Next, I connected my Rikomagic MK802iv to the computer the same way as I described in my firmware upgrade article. I used the paper clip and pressed the reset button down for about 5 seconds for the device to be recognized by Windows. Please refer to that article for the instructions. If you never flashed you Firmware before, you will need to install the driver for the Rikomagic MK802iv.
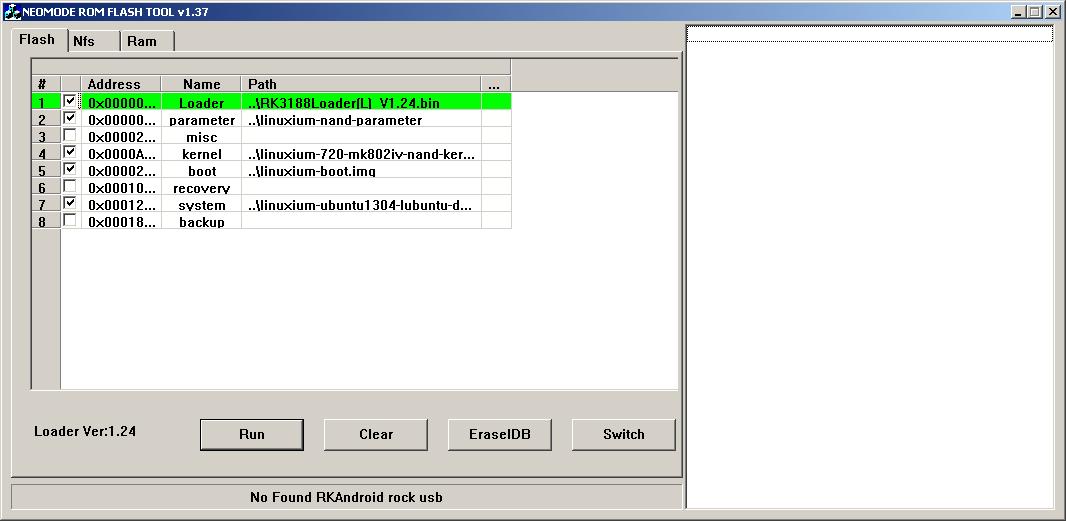
This is what the tool looks like. Notice it says No Found RKAndroid rock usb at the bottom. If you see that, it means that you need to do the paper clip thing again and re-connect the device. Beware: proceeding from here will wipe out everything on your MK802iv.
Are you ready? Hit the EraseIDB button to wipe out the firmware on the MK802iv. When that is finished and completed successfully, hit the Run button. If anything fails for any reason, just start over again… It does time out from time to time. I think I had to do the whole process twice to have it complete successfully.
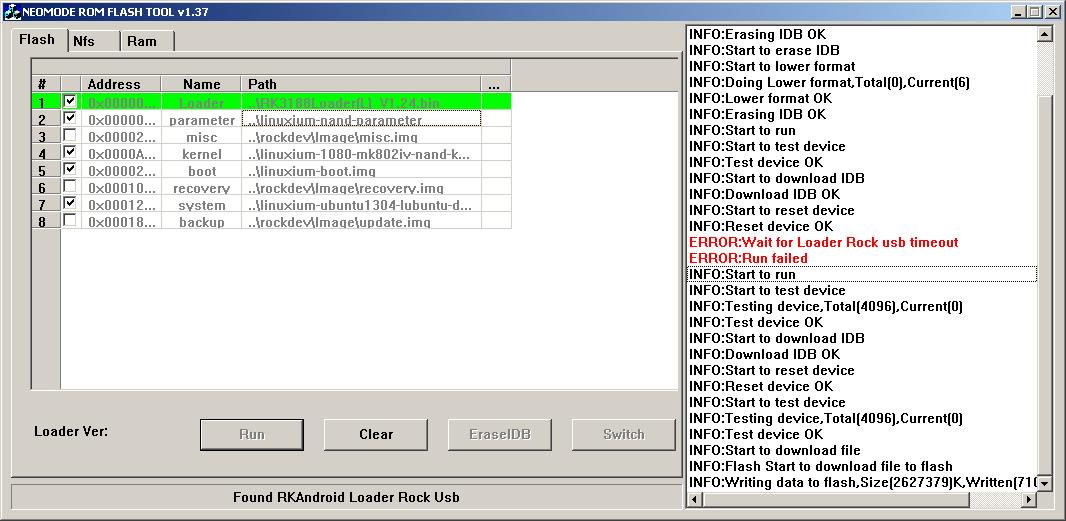
See what I mean? If you look at the messages, you will see it failed. I just started over and it worked. After this is complete, you can unplug your device, hook it back up to your television and boot it up. It takes a little longer to boot up the first time than it will in the future.
You will need to log in to the MK802iv Ubuntu system with an account named linuxium. The password for this account is ‘p’. You will also want to set a password for root. You will need to use the sudo command in a terminal window to do that.
Sudo is configured and you can set or change the root password. In a terminal window, I typed sudo passwd and hit enter. Then, I added a root password and confirmed it in order to set the password. Now when prompted for a password for doing administrative tasks, you will need to use that password.
After install MK802iv Ubuntu, I connected to my wireless, did some updates and installed some programs. I also set the linuxium account to not ask for a password, since I am the only one using this MK802iv Ubuntu install. If I were in an office, I may make other user accounts and have each one password protected.
Some of the apps I installed were LibreOffice, which is very similar to MS Office. It has a parallel app to Word, Excel, Power Point, Access and the other Office apps. It works very nicely and can create and open documents that work with MS Office. Not bad for a free Office suite!
I also installed an RDP program, some Samba utilities, and a few games. Everything works very nicely. I am pleasantly impressed with this distribution. Check out the UK site forums. They are really cool.
The only thing I notice is the video playback is a little choppy. That is because the device doesn’t have hardware video acceleration. For under a $100 though, it is a sweet little machine that works great. I connected to my NAS and played a bunch of MP3 files, no problem…
Thanks for reading my post on my MK802iv Ubuntu install project. It was fun to play around with and I look forward to using this device to learn Linux better. My hats off to the Rikomagic UK folks who worked hard on this. I hope you find this post on MK802iv Ubuntu simplifies the process of getting you going with Ubuntu on your device.